Flooring Comparison DIY Install: Water Resistance Capabilities
A flooring comparison diy install must start with water resistance, because one spill can ruin an entire floor. Luxury Vinyl Tile (LVT), laminate, and solid hardwood handle moisture completely differently. This guide breaks down installation complexity (click vs. glue down), subfloor preparation requirements, and how to choose and install transition strips, giving you the cleanest flooring comparison diy install results possible.
Water Resistance Capabilities
- LVT: 100% waterproof. Made of layered PVC and a printed design layer with a wear coat. Spills, pet accidents, even minor flooding LVT laughs it off. The best choice for bathrooms, laundry rooms, and basements in any flooring comparison diy install.
- Laminate: Water‑resistant but not waterproof. The HDF core swells if liquid sits for more than a few hours. Never in a full bathroom. Spills must be wiped immediately.
- Hardwood: Beautiful but vulnerable. Standing water warps planks. A single dishwasher leak can destroy a solid wood floor. Only for dry, above‑grade rooms.
In a flooring comparison diy install, if moisture is a concern, LVT wins decisively.
Installation Complexity: Click vs. Glue Down
A flooring comparison diy install reveals that how the planks attach determines difficulty.
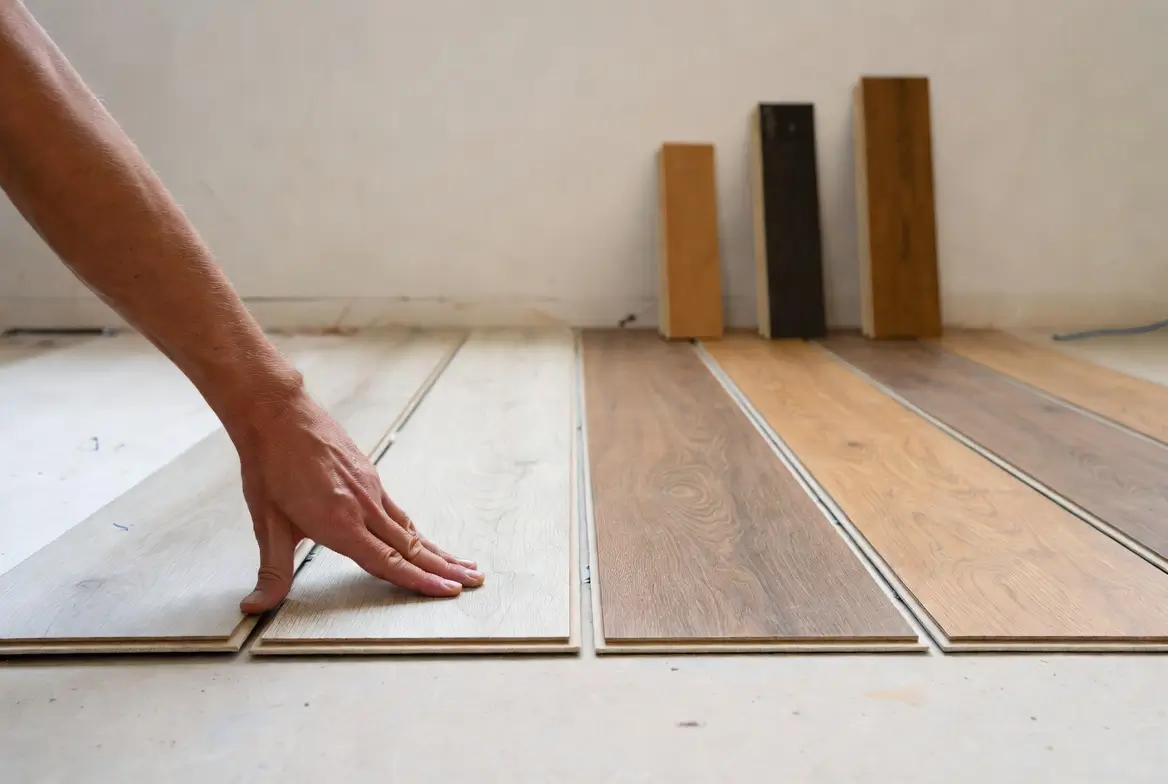
- Click‑lock floating: Laminate and LVT planks snap together and float over the subfloor. No glue, no nails. Fast and beginner‑friendly. Done in a weekend.
- Glue down: Some LVT planks adhere directly to the subfloor with adhesive. More durable, less hollow sound, but slower and messier.
- Nail down: Hardwood is nailed through the tongue into the subfloor. Requires a floor nailer (rentable), and an understanding of the joist layout.
For a DIYer, click‑lock floating floors are the easiest path to a successful flooring comparison diy install.
Subfloor Preparation Checklist
The key to a smooth flooring comparison diy install is hidden under the planks. Before you lay any flooring:
- Clean thoroughly; no debris.
- Check flatness with a 6‑ft straightedge. Variations over 3/16‑inch in 10 feet require leveling compound.
- Lay a vapor barrier (6‑mil polyethylene) over concrete.
- Install underlayment (cork or foam) if required by the flooring type it reduces sound and evens out minor imperfections.
Skipping prep will cause creaks and joint failures. This flooring comparison diy install checklist ensures a stable, silent floor.
Transition Strip Selection
Transition strips finish the edges where different floors meet. In every flooring comparison diy install, they also handle expansion gaps.
- T‑molding: Between two floors of equal height.
- Reducer: From higher floor to lower (e.g., LVT to carpet).
- End molding (threshold): At an exterior door.
- Quarter round / baseboard: Hides the expansion gap at the wall.
Use a colour‑matched strip that came with your flooring. Place a track, tap the strip in, and your flooring comparison diy install looks professional.
This flooring comparison diy install guide gives you the clarity to choose the right material for every room. LVT for wet areas, laminate for budget‑friendly dry spaces, and hardwood when you want timeless beauty in a safe zone.