DIY Security Camera Installation: Building a Visible Deterrent or Hidden Observation Station
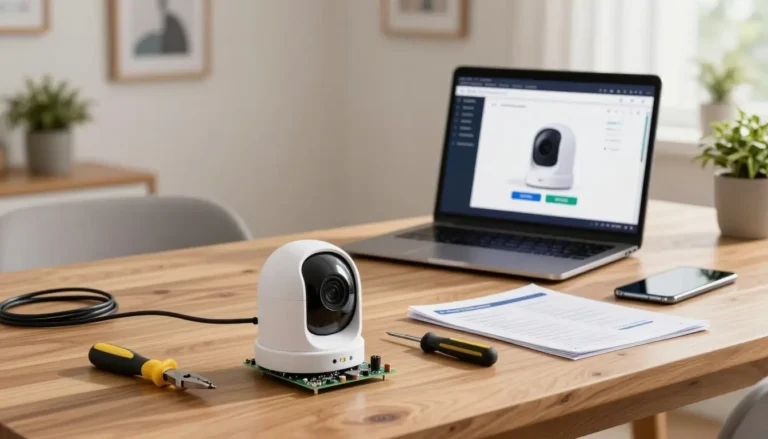
A DIY security camera installation gives you total control over how your home surveillance looks and works without the monthly fees of a professional alarm company. But before you screw in the first bracket, there is one big decision to make: do you want the camera to be seen, deterring intruders by its mere presence, or do you prefer a discreet setup that captures footage without anyone noticing?
Your answer shapes every other choice from camera design and lens type to power delivery and recording method. This guide walks through the pros and cons of indoor versus outdoor placement, battery vs. PoE vs. wall power, fine-tuning night vision and motion alerts, and finally the critical question of where all that footage goes. Whether you’re safeguarding a small apartment or a large property, a well-planned DIY security camera installation puts professional-grade protection within your reach.
Pros and Cons of Indoor vs. Outdoor Placement
The location of your DIY security camera installation changes everything.
Indoor cameras
- Pros: Protected from weather; usually easy to reach a power outlet; often smaller and more discreet. You can place them on shelves, desks, or mount them to the ceiling with basic screws. Motion events inside are less frequent, so your notifications are meaningful a hallway sensor going off at 2 a.m. is always worth checking.
- Cons: Limited field of view through windows (glass reflections ruin infrared night vision). They cannot see what happens at your front door unless you point them through a window, which rarely works well. Indoor cameras also raise privacy considerations if placed in living areas or guest rooms.
Outdoor cameras
- Pros: Weather-resistant (IP65 or higher). A visible outdoor camera is arguably the single most effective deterrent studies show burglars avoid homes with obvious surveillance. They capture licence plates, deliveries, and anyone approaching your property long before they reach the door.
- Cons: Must contend with rain, dust, extreme temperatures, and sometimes complex wiring if you go the Power-over-Ethernet (PoE) route. Wi-Fi signals can be weaker through exterior walls.
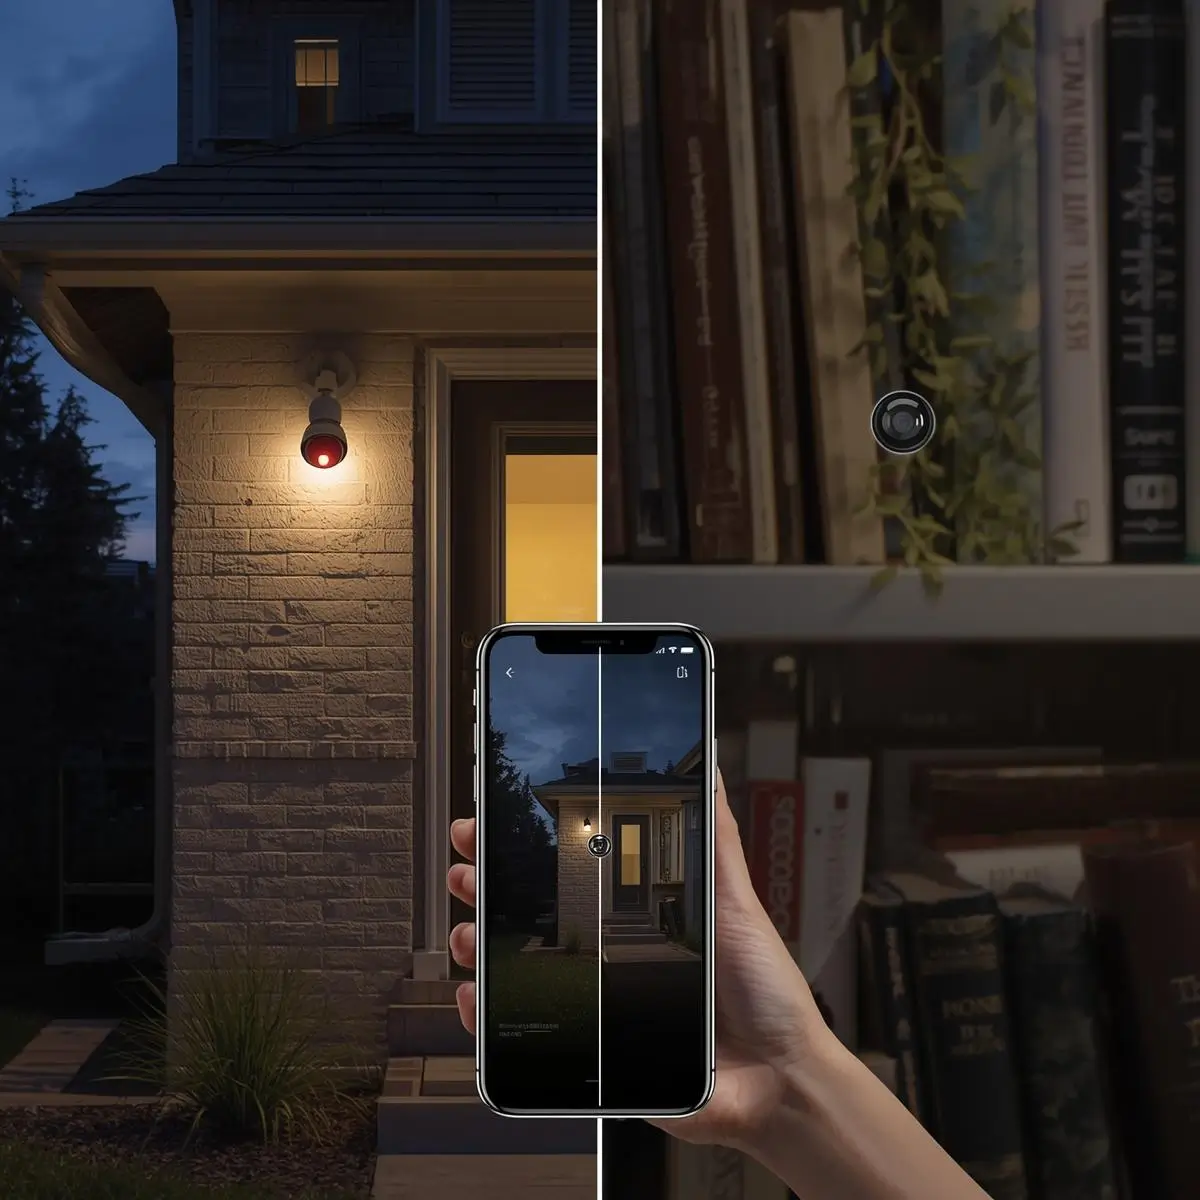
The hybrid approach
Many DIY security camera installation plans blend both. A visible floodlight camera near the driveway warns off intruders, while a small hidden camera inside the hallway or living room captures facial detail if someone gets in. This layered setup combines deterrence with discreet documentation.
Power Options: Battery, PoE, or Wall Outlet?
How you power your cameras is a cornerstone of any DIY security camera installation. The choice affects placement flexibility, reliability, and how much maintenance you are willing to accept.
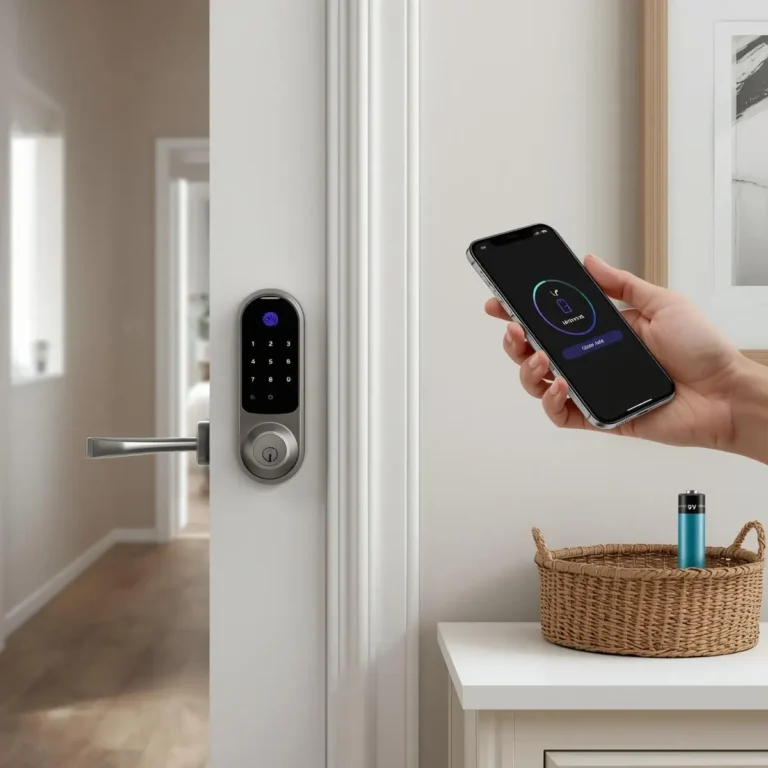
Battery-Powered Cameras (e.g., Blink, Eufy, some Arlo models)
- Flexibility: Place them almost anywhere on a fence, a tree, a gate. No nearby outlet required.
- Downside: You must recharge or replace batteries every few months, more often in cold weather or high-traffic areas. Some models support small solar panels to keep them topped up.
- Best for: Renters and locations far from any power source.
Plug-in/Wall Outlet Cameras (e.g., Wyze Cam, TP-Link Tapo)
- Simplicity: They use a standard USB or DC adapter. Setup takes minutes.
- Limitation: You are tethered to an outlet. Indoors this is easy; outdoors you need a weatherproof extension or a sheltered exterior socket.
- Best for: Indoor DIY security camera installation and covered porches/patios.
Power over Ethernet (PoE) Cameras (e.g., Reolink, Amcrest, Hikvision)
- Gold standard for reliability: A single ethernet cable carries both data and power. No Wi-Fi interference, no batteries, and recordings go straight to a local NVR (Network Video Recorder).
- Complexity: You must run Cat5e/Cat6 cable through walls, attics, or crawl spaces. This is the most involved DIY security camera installation approach, but the video quality and zero-lag footage make it worthwhile for permanent homes.
- Best for: Homeowners ready for a robust, always-on system.
Night Vision and Motion Sensor Adjustments
Getting clear footage after dark is where many DIY security camera installation projects fall short not because the equipment is bad, but because the settings are off.
Infrared (IR) night vision
Most cameras use built-in IR LEDs to illuminate the scene up to 10-30 metres. The image appears black and white. Key adjustments:
- Avoid glass: Mount cameras so they don’t look through a window at night. IR light reflects straight back, creating a white blur.
- Exterior reflections: If an outdoor camera is mounted too close to a white wall or soffit, the IR can bounce back and wash out the image. Adjust the camera angle or mask part of the IR LED ring with electrical tape.
- Colour night vision: Some premium cameras use a starlight sensor or a built-in spotlight to record full colour at night, which is far more useful for identifying clothing or vehicle colour.
Motion sensor fine-tuning
Without proper motion setup, your DIY security camera installation will either miss important events or flood you with alerts for every passing cat.
- Detection zones: Set activity zones so that public footpaths, roads, or fluttering trees are excluded. You only want alerts for movement inside your actual property.
- Smart detection: Modern cameras (especially those from Google Nest, Eufy, and Reolink) can distinguish between people, vehicles, pets, and packages. Enable these filters so you are notified when a person approaches, not when a car drives by.
- Scheduling: Use the camera app to arm motion alerts only when you are out or asleep. Many systems offer “Home” and “Away” modes that tie into your smart home platform.
Storing Footage Locally vs. Cloud Storage
The final piece of your DIY security camera installation is deciding where the recordings live and who has access to them.
Cloud Storage
- Convenience: Footage is uploaded to the manufacturer’s servers. You can view clips from anywhere, and they stay safe even if the camera is stolen or destroyed.
- Cost: Usually a monthly subscription (e.g., Ring Protect, Nest Aware, Arlo Secure). Free tiers often offer limited history or no continuous recording.
- Privacy: Your video passes through a third-party server. Always check what encryption is used and how the company handles data requests.
Local Storage (microSD / NVR)
- Privacy-first: Everything stays on a memory card inside the camera or on a DVR/NVR box in your house. No recurring fees.
- Considerations: If someone steals the camera, they take the evidence with them (unless you use an NVR in a locked cupboard). You must also manage storage space older footage gets overwritten when the card is full.
- Hybrid approach: Some systems record 24/7 to a local NVR but also back up motion-triggered clips to the cloud. This gives you redundancy and remote access without storing every second on external servers.
For the privacy-conscious DIY security camera installation, a PoE system recording locally to an NVR with encrypted remote access (via VPN or a secure P2P service) is the ideal combination.
A DIY security camera installation is one of the most effective and satisfying upgrades you can make to your home. By deliberately choosing between overt deterrence and discreet observation, picking the right power source, tuning night vision and motion detection, and deciding on your storage philosophy, you end up with a system tailored exactly to your needs not a generic, one-size-fits-all box from a security company. Take the time to plan the placement, test the Wi-Fi or cable runs, and fine-tune the settings. The result is a security setup that works exactly when it matters, and stays out of your way the rest of the time.