Automated Plant Watering System DIY: Never Kill Another Plant (Even When You Forget)
You’ve done it again. After a long week, you glance at the windowsill and see drooping leaves, crispy edges, and soil that has shrunk away from the sides of the pot. The guilt is real. Forgetting to water plants is one of the most common and most lethal gardening mistakes. We all have busy lives, and a missed day can quickly turn into a missed week, especially when holidays or work trips roll around.
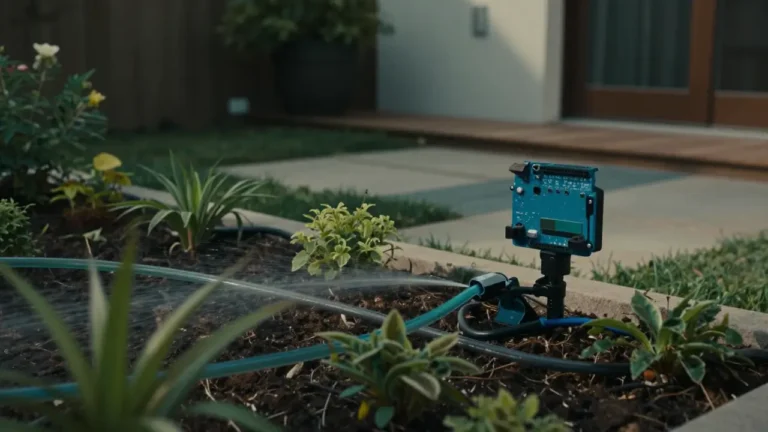
But imagine a world where your plants water themselves. A tiny sensor feels the soil, decides if it’s dry, and turns on a gentle pump that delivers exactly the right amount of water. You don’t lift a finger. No more plant sitters, no more frantic early‑morning watering sessions. This is precisely what an automated plant watering system diy can do.
This guide will walk you through building your own automatic irrigation setup from scratch, using low‑cost components and straightforward instructions. Whether you’re nurturing a single peace lily or a balcony full of herbs, you’ll finish with a system that keeps your plants happy, even when life gets hectic. Best of all, you don’t need an engineering degree just a willingness to learn and an afternoon to spare. Let’s build your green guardian.
Why an Automated Plant Watering System Is a Game‑Changer
Before we dive into wires and code, let’s look at why an automated plant watering system diy is one of the most rewarding projects a home gardener can tackle.
Perfect Watering, Every Time
Over‑watering is just as deadly as neglect. A DIY system uses a soil moisture sensor to detect the exact water content in the soil. It only waters when the soil is truly dry, preventing root rot and mould. The pump runs for a predefined duration, then shuts off automatically, mimicking the perfect gardener’s instinct.
Water Efficiency
By delivering water directly to the soil through a tube, you minimise evaporation and runoff. You can even adjust the flow to drip slowly, giving the roots time to absorb moisture. Many commercial systems waste water with broad sprinklers; your DIY version is pin‑point precise.
Complete Freedom
Going on a two‑week holiday? No problem. The system runs on its own, day and night, powered by a simple USB adapter or a battery pack. You can finally book that trip without drafting a multi‑page watering schedule for a neighbour.
An Educational Entry Point
Building an automated plant watering system diy teaches you the fundamentals of sensors, microcontrollers, and automation logic. Once you understand how a moisture sensor talks to a pump, you can extend the same principles to greenhouses, vertical farms, or even hydroponic setups.
Components You’ll Need (All Under $25)
You can build a fully functional automatic watering system with a handful of cheap, widely available parts. Here’s the shopping list for the microcontroller‑based version (the smartest option), along with a simpler no‑code alternative.
Option A: Smart Sensor‑Based System (Arduino/ESP8266)
- Microcontroller: Arduino Nano or Wemos D1 Mini (ESP8266). The Wemos adds Wi‑Fi for optional phone alerts, and costs around $3–$5.
- Soil Moisture Sensor: A resistive or capacitive probe. Capacitive sensors (v1.2) are better because they don’t corrode as quickly. Price: $2–$4.
- Relay Module: 1‑channel 5V relay to switch the pump. $2.
- Mini Water Pump: A small submersible 3–6V DC pump (often sold for aquarium or USB fountains). $2–$4.
- Silicone Tubing: 4–6mm inner diameter, 1–2 metres long, to carry water from the reservoir to the pot. $2.
- Power Supply: A 5V USB phone charger to power the microcontroller and pump (the pump may need more current, so a separate 5V/1A supply or a power bank with sufficient output is wise).
- Breadboard and Jumper Wires: $2.
- Water Reservoir: Any clean plastic bottle, container, or bucket. Free.
- Miscellaneous: Heat‑shrink tubing, cable ties. Optional.
Total cost: around $15–$25.
Option B: Ultra‑Simple Timer‑Based System (No Coding)
If you’re not ready for a microcontroller, you can still create a basic automated plant watering system diy using a mechanical timer plug and a small USB‑powered pump. Set the timer to run the pump for 2 minutes every 24 hours. It’s crude, but it keeps plants alive during a short holiday. Cost: under $12. The downside is it doesn’t sense moisture, so you’ll have to test the timing beforehand.
However, for real intelligence, let’s build the sensor version.
Step‑by‑Step DIY Setup: Build Your Smart Watering System
Follow these steps to construct a reliable, sensor‑driven automated plant watering system diy that waters only when needed.
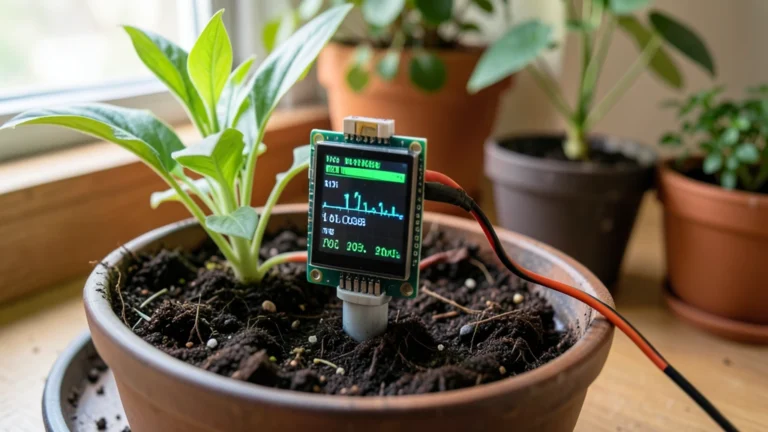
1. Understand the Circuit
The moisture sensor outputs an analog voltage proportional to soil wetness. The Arduino reads this voltage and compares it to a dryness threshold. If the soil is dry, the Arduino activates the relay, which turns on the pump for a set number of seconds. Then it waits and re‑checks the sensor.
2. Wiring Diagram
For Arduino Nano:
- Soil Moisture Sensor: VCC → 5V, GND → GND, Analog Out → A0.
- Relay Module: VCC → 5V, GND → GND, IN → Digital Pin 7.
- Pump: Connect the pump’s positive wire to the relay’s COM (Common) terminal, and the relay’s NO (Normally Open) terminal to the pump’s positive power supply (5V). The pump’s negative wire goes directly to the power supply GND. This way the relay acts as an automated switch.
Important: The pump often draws more current than an Arduino pin can supply, so the relay isolates the high‑current path. Use a separate 5V wall adapter or a power bank capable of delivering at least 1A to drive the pump.
3. Code
Upload this sketch to your Arduino Nano. It reads the sensor every 30 minutes, and if the moisture level drops below a threshold, it waters for 5 seconds.
#define SENSOR_PIN A0
#define RELAY_PIN  7
#define THRESHOLD  500   // Adjust based on your sensor (lower = wetter for resistive)
unsigned long lastCheck = 0;
const unsigned long checkInterval = 1800000; // 30 minutes in milliseconds

void setup() {
  pinMode(RELAY_PIN, OUTPUT);
  digitalWrite(RELAY_PIN, HIGH); // Relay off (active LOW)
  Serial.begin(9600);
  // Run an initial test: water if soil is dry on startup
  checkAndWater();
  lastCheck = millis();
}

void loop() {
  if (millis() - lastCheck >= checkInterval) {
    checkAndWater();
    lastCheck = millis();
  }
}

void checkAndWater() {
  int moisture = analogRead(SENSOR_PIN);
  Serial.print("Moisture: ");
  Serial.println(moisture);

  if (moisture > THRESHOLD) {  // Dry soil gives higher reading on many resistive sensors
    Serial.println("Soil dry - watering...");
    digitalWrite(RELAY_PIN, LOW);   // Relay ON
    delay(5000);                    // Water for 5 seconds
    digitalWrite(RELAY_PIN, HIGH);  // Relay OFF
    Serial.println("Watering complete.");
  } else {
    Serial.println("Soil moist - no watering needed.");
  }
}
Calibration: Insert the sensor into wet soil and note the analog reading. Then let the soil dry out and note the reading. Set THRESHOLD to a value slightly below the dry reading. Capacitive sensors often read lower for dry; you may need to flip the logic.
4. Physical Assembly
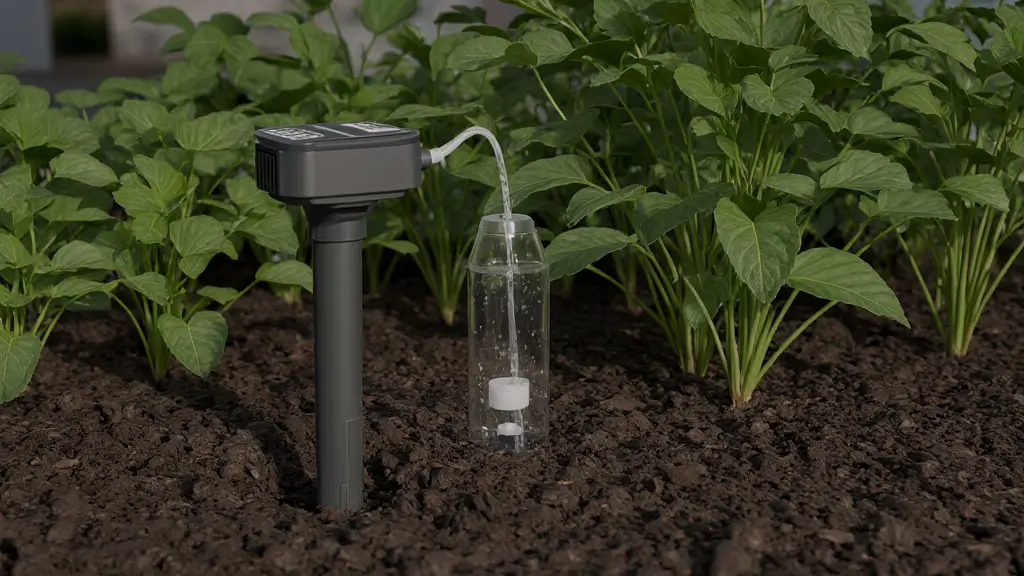
- Place the sensor deep into the root zone of the plant, near the centre of the pot.
- Set up the reservoir: Fill a bottle with water. Submerge the pump and run the silicone tube out of the reservoir to the plant’s base. Secure the tube with a stake or rock so it doesn’t move.
- Protect the electronics: Place the Arduino and relay inside a small plastic box (with a hole for the sensor wire) to guard against splashes. Keep the box away from direct water.
- Power everything: Use a 5V phone charger for the Arduino and a separate 5V supply for the pump. A Y‑split USB cable can power both from one adapter if the total current is sufficient.
5. Test and Tweak
Run the system for a day while observing. Check that the pump actually moves water (prime it if necessary). Verify the sensor readings with a multimeter or the Serial Monitor. Adjust the watering duration: 5 seconds may deliver about 30–50 ml depending on pump strength adjust to your pot size.
Congratulations, you now have a working automated plant watering system diy that will faithfully tend your plants while you focus on other things.
How the System Works (The Brains Behind the Greenery)
The logic is simple: every 30 minutes, the Arduino wakes up, measures the soil moisture, and decides if action is needed. When the soil moisture falls below a healthy level, the microcontroller activates a relay, closing the circuit that powers the pump. The pump pushes water from the reservoir through the tube into the soil. After a brief, controlled burst, the relay opens and the pump stops. The cycle repeats.
This is an automated plant watering system diy that mimics nature: occasional, deep watering rather than constant trickle. The long interval between checks prevents over‑watering and gives the soil time to absorb moisture fully. The system uses minimal electricity the microcontroller idles most of the time, and the pump runs only seconds per day.
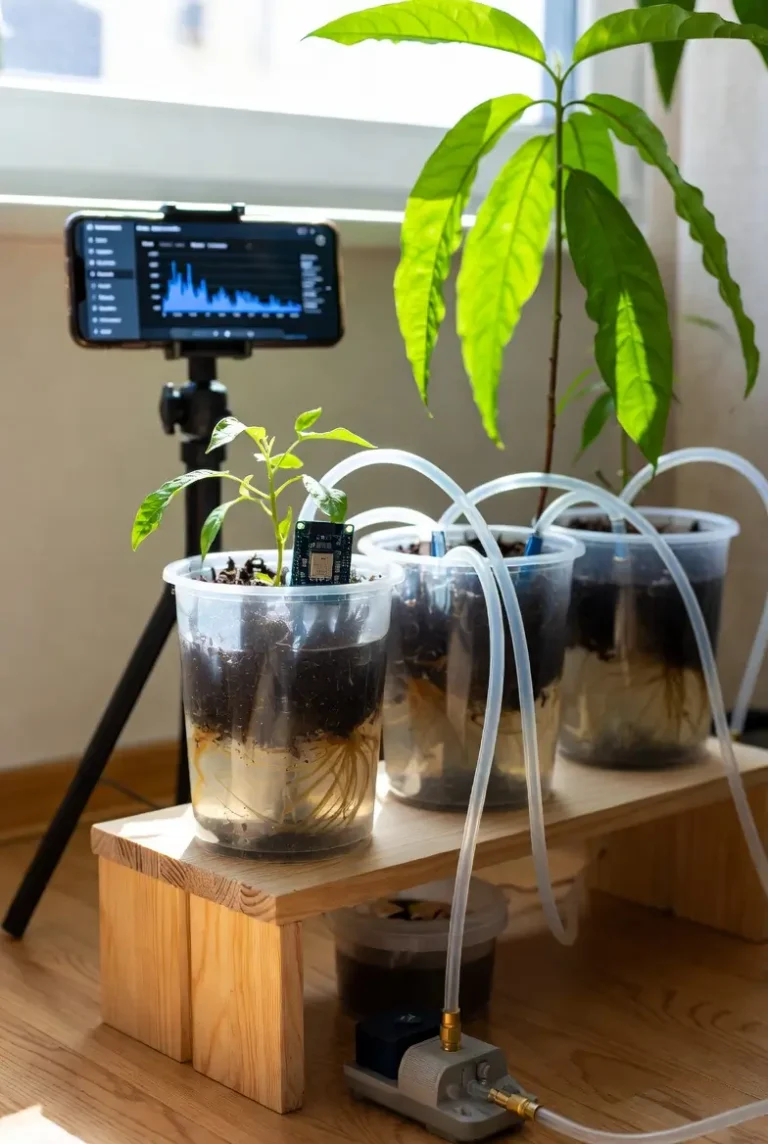
If you upgrade to an ESP8266 (Wemos D1 Mini), you can add Wi‑Fi connectivity. The board can send push notifications to your phone through Blynk or IFTTT whenever it waters, or log moisture data to a Google Sheet so you can track trends. The same code works with minimal modifications you only need to add Wi‑Fi connection lines.
Common Mistakes That Can Wilt Your Efforts
Even a straightforward automated plant watering system diy can fail if these pitfalls aren’t avoided.
1. Using the Wrong Sensor Type
Cheap resistive soil moisture sensors corrode rapidly because they pass a small current through the probe. Within weeks, the electrodes degrade and give inaccurate readings. Spend an extra dollar on a capacitive sensor, or coat the resistive probes with tin/solder and replace them periodically.
2. Sticking the Sensor in One Spot
Soil moisture can vary wildly from the top to the bottom of the pot. Insert the sensor at root depth, not just at the surface. Otherwise, you may water while the roots are still wet.
3. Not Priming the Pump
Mini submersible pumps often can’t self‑prime if air is trapped in the tube. Submerge the pump fully, suck briefly on the output tube until water flows, then connect it to the delivery tube. This ensures the pump pushes water immediately when activated.
4. Forgetting a Check Valve
If the reservoir is higher than the pot, gravity may siphon the entire tank into the plant when the pump stops. A cheap one‑way check valve on the tube prevents this. Alternatively, place the reservoir below the pot so water can’t flow downhill.
5. Ignoring Power Supply Limits
A relay coil draws significant current when activated. Powering both the Arduino and pump from the same weak USB port may cause the board to reset. Use a stable 5V/2A adapter and, if needed, power the pump from a separate source.
Pro Tips to Make Your System Bulletproof
- Use a Capacitive Sensor and Calibrate It: Take dry and wet readings, then set the threshold exactly where you want watering to start. Log data for a few days to be sure.
- Add a Maximum Run Time Safety: In code, include a failsafe that turns off the pump after X seconds even if the relay sticks, to prevent flooding. You can use a hardware watchdog timer on the Arduino as well.
- Go Wireless with an ESP8266: For a few extra dollars, the Wemos D1 Mini allows you to monitor your garden from anywhere. Send watering alerts and moisture data to your phone. You can even trigger manual watering remotely.
- Expand to Multiple Plants: Use a single Arduino with multiple sensors and a multi‑channel relay to water several pots sequentially. Each sensor defines an independent threshold.
- Solar Power for Outdoor Use: Pair a small 6V solar panel, a TP4056 charging module, and a 18650 battery to run the system off‑grid. Your automated plant watering system diy becomes truly autonomous.
- Add a Water Level Sensor: Stick a float switch in the reservoir connected to the Arduino. When the water gets low, the system can light an LED or send a notification so you know to refill.
Frequently Asked Questions
Do I need coding skills to build an automated plant watering system diy?
Not really. The code is provided and only requires you to change a threshold number. Even easier, you can use a no‑code platform like Blynk with drag‑and‑drop widgets if you choose an ESP8266. The physical wiring is the bigger part, and it’s completely beginner‑friendly.
Can I use this system for outdoor plants in all weather?
You’ll need to protect the electronics from rain and direct sun. Place the Arduino and relay in a sealed, weatherproof enclosure (with cable glands). The capacitive sensor is more durable outdoors. Also, consider battery vs. solar power if no outlet is available.
How much does the whole project cost?
About $15–$25 for the full sensor‑based system. If you go with a timer‑only version, under $12. That’s a fraction of commercial smart watering gadgets, which start around $60.
Will the pump burn out if the reservoir runs dry?
Most submersible pumps are water‑cooled and will overheat if run dry for long periods. Adding a water level sensor as suggested above prevents this. Your code can include a low‑water shutdown routine.
Can I water multiple pots with one pump?
Yes, by using a manifold or a drip‑irrigation splitter connected to the main tube. Alternatively, use a peristaltic pump that can dose exact amounts to individual tubes, though that increases complexity. For beginners, one pump per plant or a very simple gravity‑fed system with solenoid valves works.
The Greenest Thumb Is an Automated One
Life gets busy, but your plants don’t have to pay the price. An automated plant watering system diy gives you the best of both worlds: lush, thriving greenery and the freedom to forget about daily watering chores. You’ve just learned how to build one with parts that cost less than a takeaway pizza, using skills that will serve you for years.
Start with a single pot. Calibrate the sensor, watch the pump come alive when the soil dries, and feel a surge of pride as your plant perks up. Then expand add a second plant, throw in a Wi‑Fi module, build a weatherproof enclosure for the balcony. Soon you’ll have a self‑sufficient mini‑oasis that runs on autopilot.
Don’t wait for your next wilted leaf to spur you into action. Gather the components this weekend, and build your own plant‑saving robot. Your ferns, your herbs, your precious monstera are all silently cheering you on. Happy making, and even happier gardening!