The Complete Guide to Home Automation Using Arduino: Build Your Smart Space
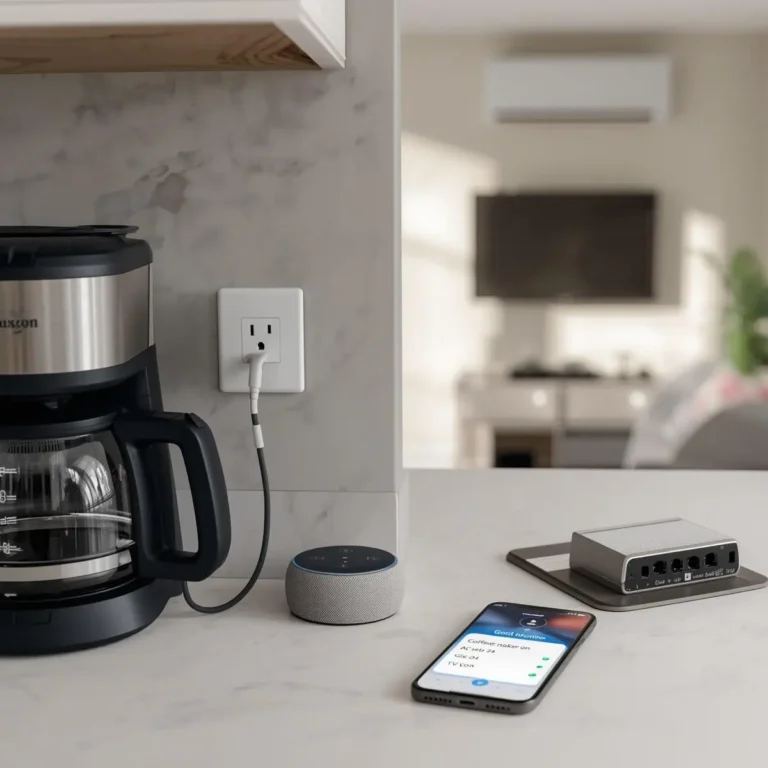
Imagine walking into a room and having the lights greet you automatically, or a world where your fan knows exactly when the room is too hot. For years, these features were locked behind expensive proprietary systems. Today, home automation using arduino has leveled the playing field, allowing anyone with a bit of curiosity to build a customized, high-tech sanctuary.
Arduino is more than just a green circuit board; it is the brain of a modern DIY home. In this guide, we will break down why Arduino is the perfect choice for your first smart project and provide step-by-step blueprints for real-world applications.
1. What is Arduino in the Smart Home Context?
Arduino is an open-source electronics platform based on easy-to-use hardware and software. In the world of smart homes, Arduino acts as the “Central Processing Unit” (CPU). It takes in information from the physical world like the temperature of a room or the movement of a person and processes that data to trigger an action, such as turning on a heater or locking a door.
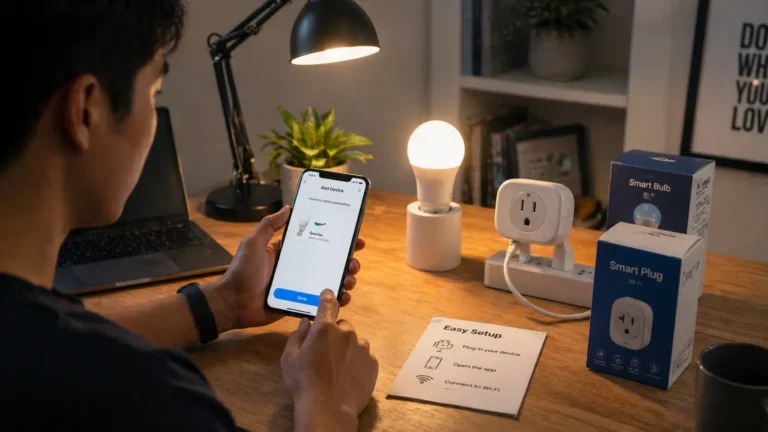
Unlike “locked” consumer products like a smart bulb you buy at a big-box store, home automation using arduino gives you 100% control over the logic. You aren’t just a user; you are the architect.
2. Why Arduino is Great for Automation
If you are a beginner, you might wonder why you should choose Arduino over a pre-built smart hub. Here are three compelling reasons:
- Flexibility: You can customize every single parameter. Want your lights to turn on only if it’s dark and you’re in the room? You can write that specific logic.
- Low Cost: Most Arduino-compatible sensors cost less than $5. You can build a comprehensive system for a fraction of the price of high-end retail kits.
- Beginner Friendly: The Arduino community is massive. If you run into a problem, there are thousands of forum posts and tutorials to help you troubleshoot.
3. Essential Components for Your Projects
Before we start building, you need to gather your “Smart Home Starter Kit.”
- The Brain: An Arduino Uno (best for beginners) or an Arduino Nano (best for compact spaces).
- The Switch: Relay Modules. Since Arduino runs on 5V and your home appliances run on 110V/220V, a relay acts as the bridge that allows the small board to safely switch high-power devices.
- The Senses (Sensors):
- PIR Sensor: Detects motion.
- DHT11/DHT22: Measures temperature and humidity.
- LDR (Light Dependent Resistor): Detects ambient light levels.
- Ultrasonic Sensor: Measures distance.
- Connectivity: Jumper wires and a breadboard for prototyping.
4. Step-by-Step Automation Projects
Let’s dive into three practical projects you can build today.
Project 1: The Automatic Night-Light (LDR Based)
This system detects when the sun goes down and automatically switches on a lamp.
- How it works: An LDR sensor measures light intensity. When the value drops below a certain threshold, the Arduino sends a signal to a relay to turn on the light.
- Key Code Logic:
if (lightIntensity < 400) { digitalWrite(relayPin, LOW); }(Note: Relays are often “Active Low,” meaning LOW turns them on).
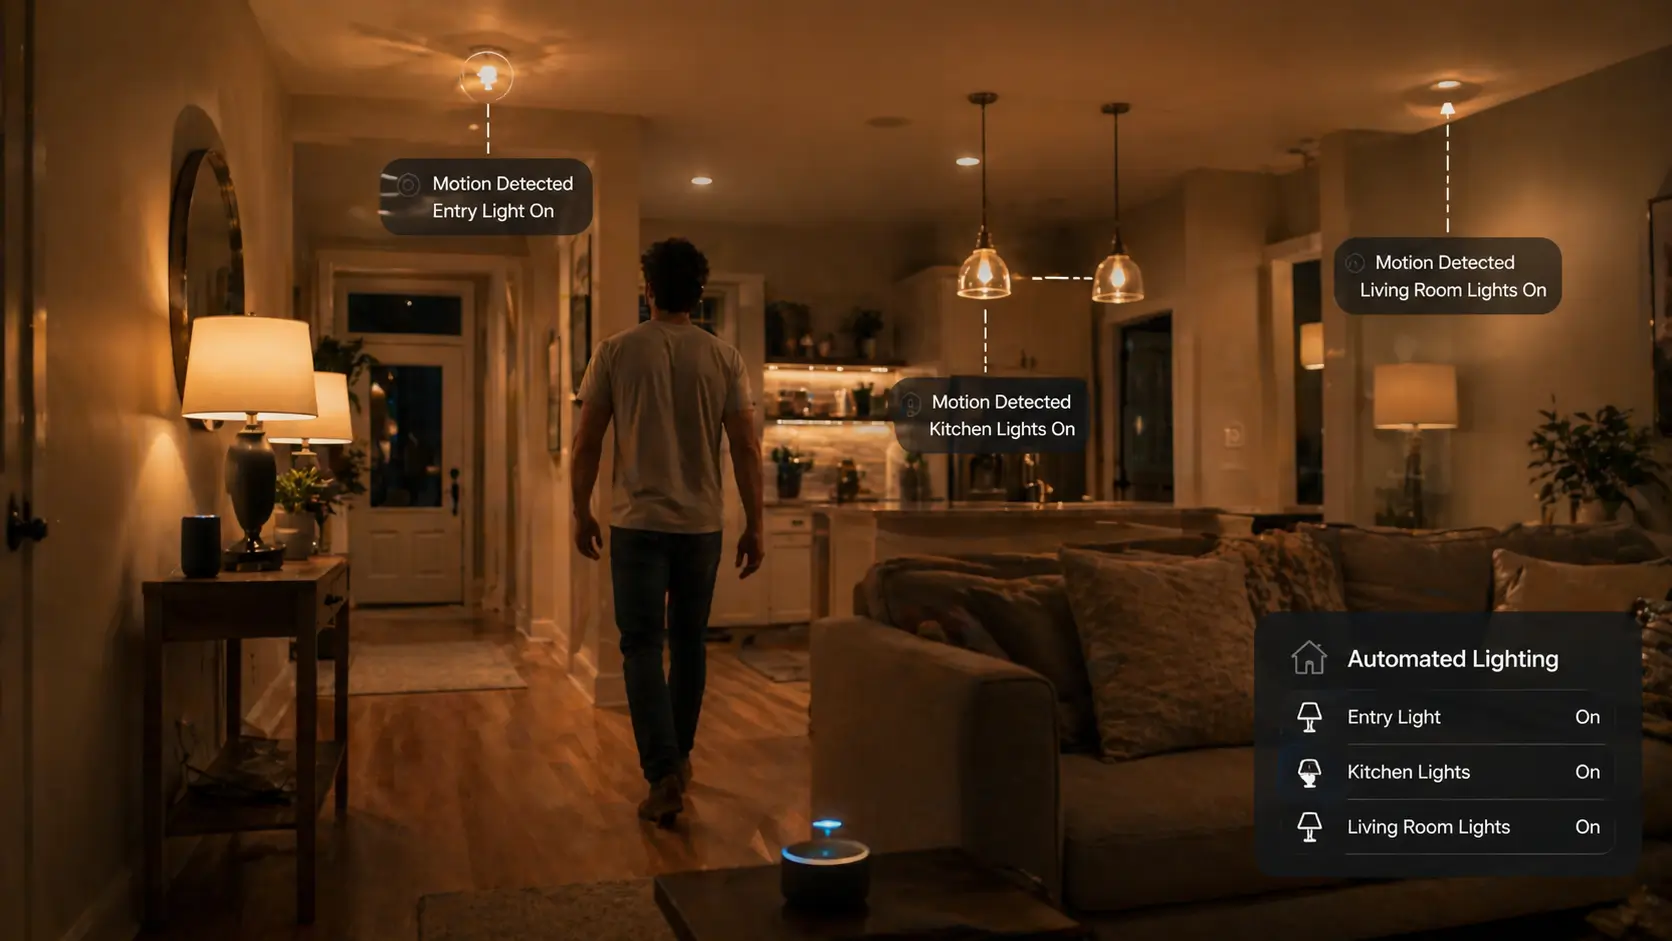
Project 2: Motion-Based Lighting (PIR Sensor)
Perfect for hallways or bathrooms, this ensures lights are only on when someone is present.
- Setup: Connect a PIR sensor to a digital input pin.
- Logic: When motion is detected, turn the light on and start a timer. If no motion is detected for 2 minutes, turn the light off.
Project 3: Temperature-Based Fan Control
This is a classic example of home automation using arduino that saves energy.
- Components: DHT11 Temperature Sensor + Relay + Fan.
- Logic: If the temperature rises above 26°C (79°F), the Arduino switches the relay to turn on the fan. Once it cools down to 24°C, it switches off.
5. Wiring and Safety: A Critical Note
Wiring an Arduino is generally safe because it uses low voltage (5V to 12V). However, when you integrate home appliances, you are dealing with Mains Voltage (110V/220V).
- The Relay Barrier: Always ensure your AC wires are connected only to the “Load” side of the relay, and your Arduino is on the “Signal” side.
- Insulation: Never leave exposed high-voltage wires on your breadboard. Use a project box to house your final build.
- Grounding: Ensure all your connections share a common ground where necessary, but never connect AC neutral to Arduino ground.
6. Moving to Advanced Systems
Once you master individual projects, you can combine them into a Full Home Automation System.
- LCD Displays: Add a screen to your wall to show real-time temperature and humidity.
- Keypad Entry: Use a 4×4 matrix keypad to create a DIY smart lock.
- IoT Integration: By adding an ESP8266 or ESP32 module to your Arduino, you can connect your system to the internet. This allows you to control your “Arduino-powered” home via your smartphone from anywhere in the world.
7. Troubleshooting Common Problems
1. Code Won’t Upload: Check your “Tools > Port” settings in the Arduino IDE. Ensure you have the correct board selected (e.g., Arduino Uno).
2. Sensor Giving Weird Values:
Sensors like the DHT11 are sensitive to “noise.” Ensure your jumper wires are secure and not crossing over power lines, which can cause electromagnetic interference.
3. Relay Clicks but Device Doesn’t Turn On:
This usually means the relay isn’t getting enough current. Arduino pins provide limited current; for multi-relay setups, use an external 5V power supply to trigger the relay coils.
8. FAQs :
Can Arduino control a full home?
While a single Arduino Uno might run out of memory for a massive mansion, you can use multiple Arduinos communicating via I2C or Serial to manage an entire house.
Is coding required for home automation using Arduino?
Yes, but it is very accessible. Most projects use basic C++ logic. If you can understand “If this happens, do that,” you can code an Arduino.
Is it cheaper than Alexa or Google Home?
In terms of hardware, yes. However, the true value of home automation using arduino is privacy. Your data stays in your house, not on a corporate server.
9. Your DIY Future
The beauty of home automation using arduino lies in the journey. You start with a blinking LED, and a month later, you have a home that responds to your presence and the environment.
Don’t be afraid to start small. Choose one project perhaps the temperature-based fan and build it this weekend. Once you see your code controlling a physical machine, you’ll realize that the only limit to your smart home is your imagination.