Home Assistant Dashboard Tutorial: Build a Control Panel You’ll Actually Love
The stock Home Assistant Overview is functional but not exactly inviting. This home assistant dashboard tutorial will transform that generic grid into a polished command centre complete with weather cards, room controls, security camera feeds, and a floor plan that responds to touch. By the end, you’ll have a home assistant dashboard tutorial‑worthy panel that you can pull up on a wall‑mounted tablet, phone, or any browser.
Understanding Lovelace – The Dashboard Engine
Lovelace is the user‑configurable dashboard framework inside Home Assistant. It uses YAML to define views, cards, and entities. In this home assistant dashboard tutorial, we’ll work primarily in the raw configuration editor (found under Overview → three dots → Edit Dashboard → Raw configuration editor). A view is a tab at the top. Each view contains cards—horizontally stacked rows or single elements. The most useful card types for a control panel are:
entitiescard: Lists any entity with a toggle, slider, or state. Perfect for lights, locks, and sensors.glancecard: Shows entities in a compact row with icons and state. Good for temperature and humidity summaries.picture‑entitycard: Displays a camera feed with control overlays.markdowncard: Free‑form text, useful for headers or date/time.horizontal‑stack/vertical‑stack: Groups cards together for a responsive layout.
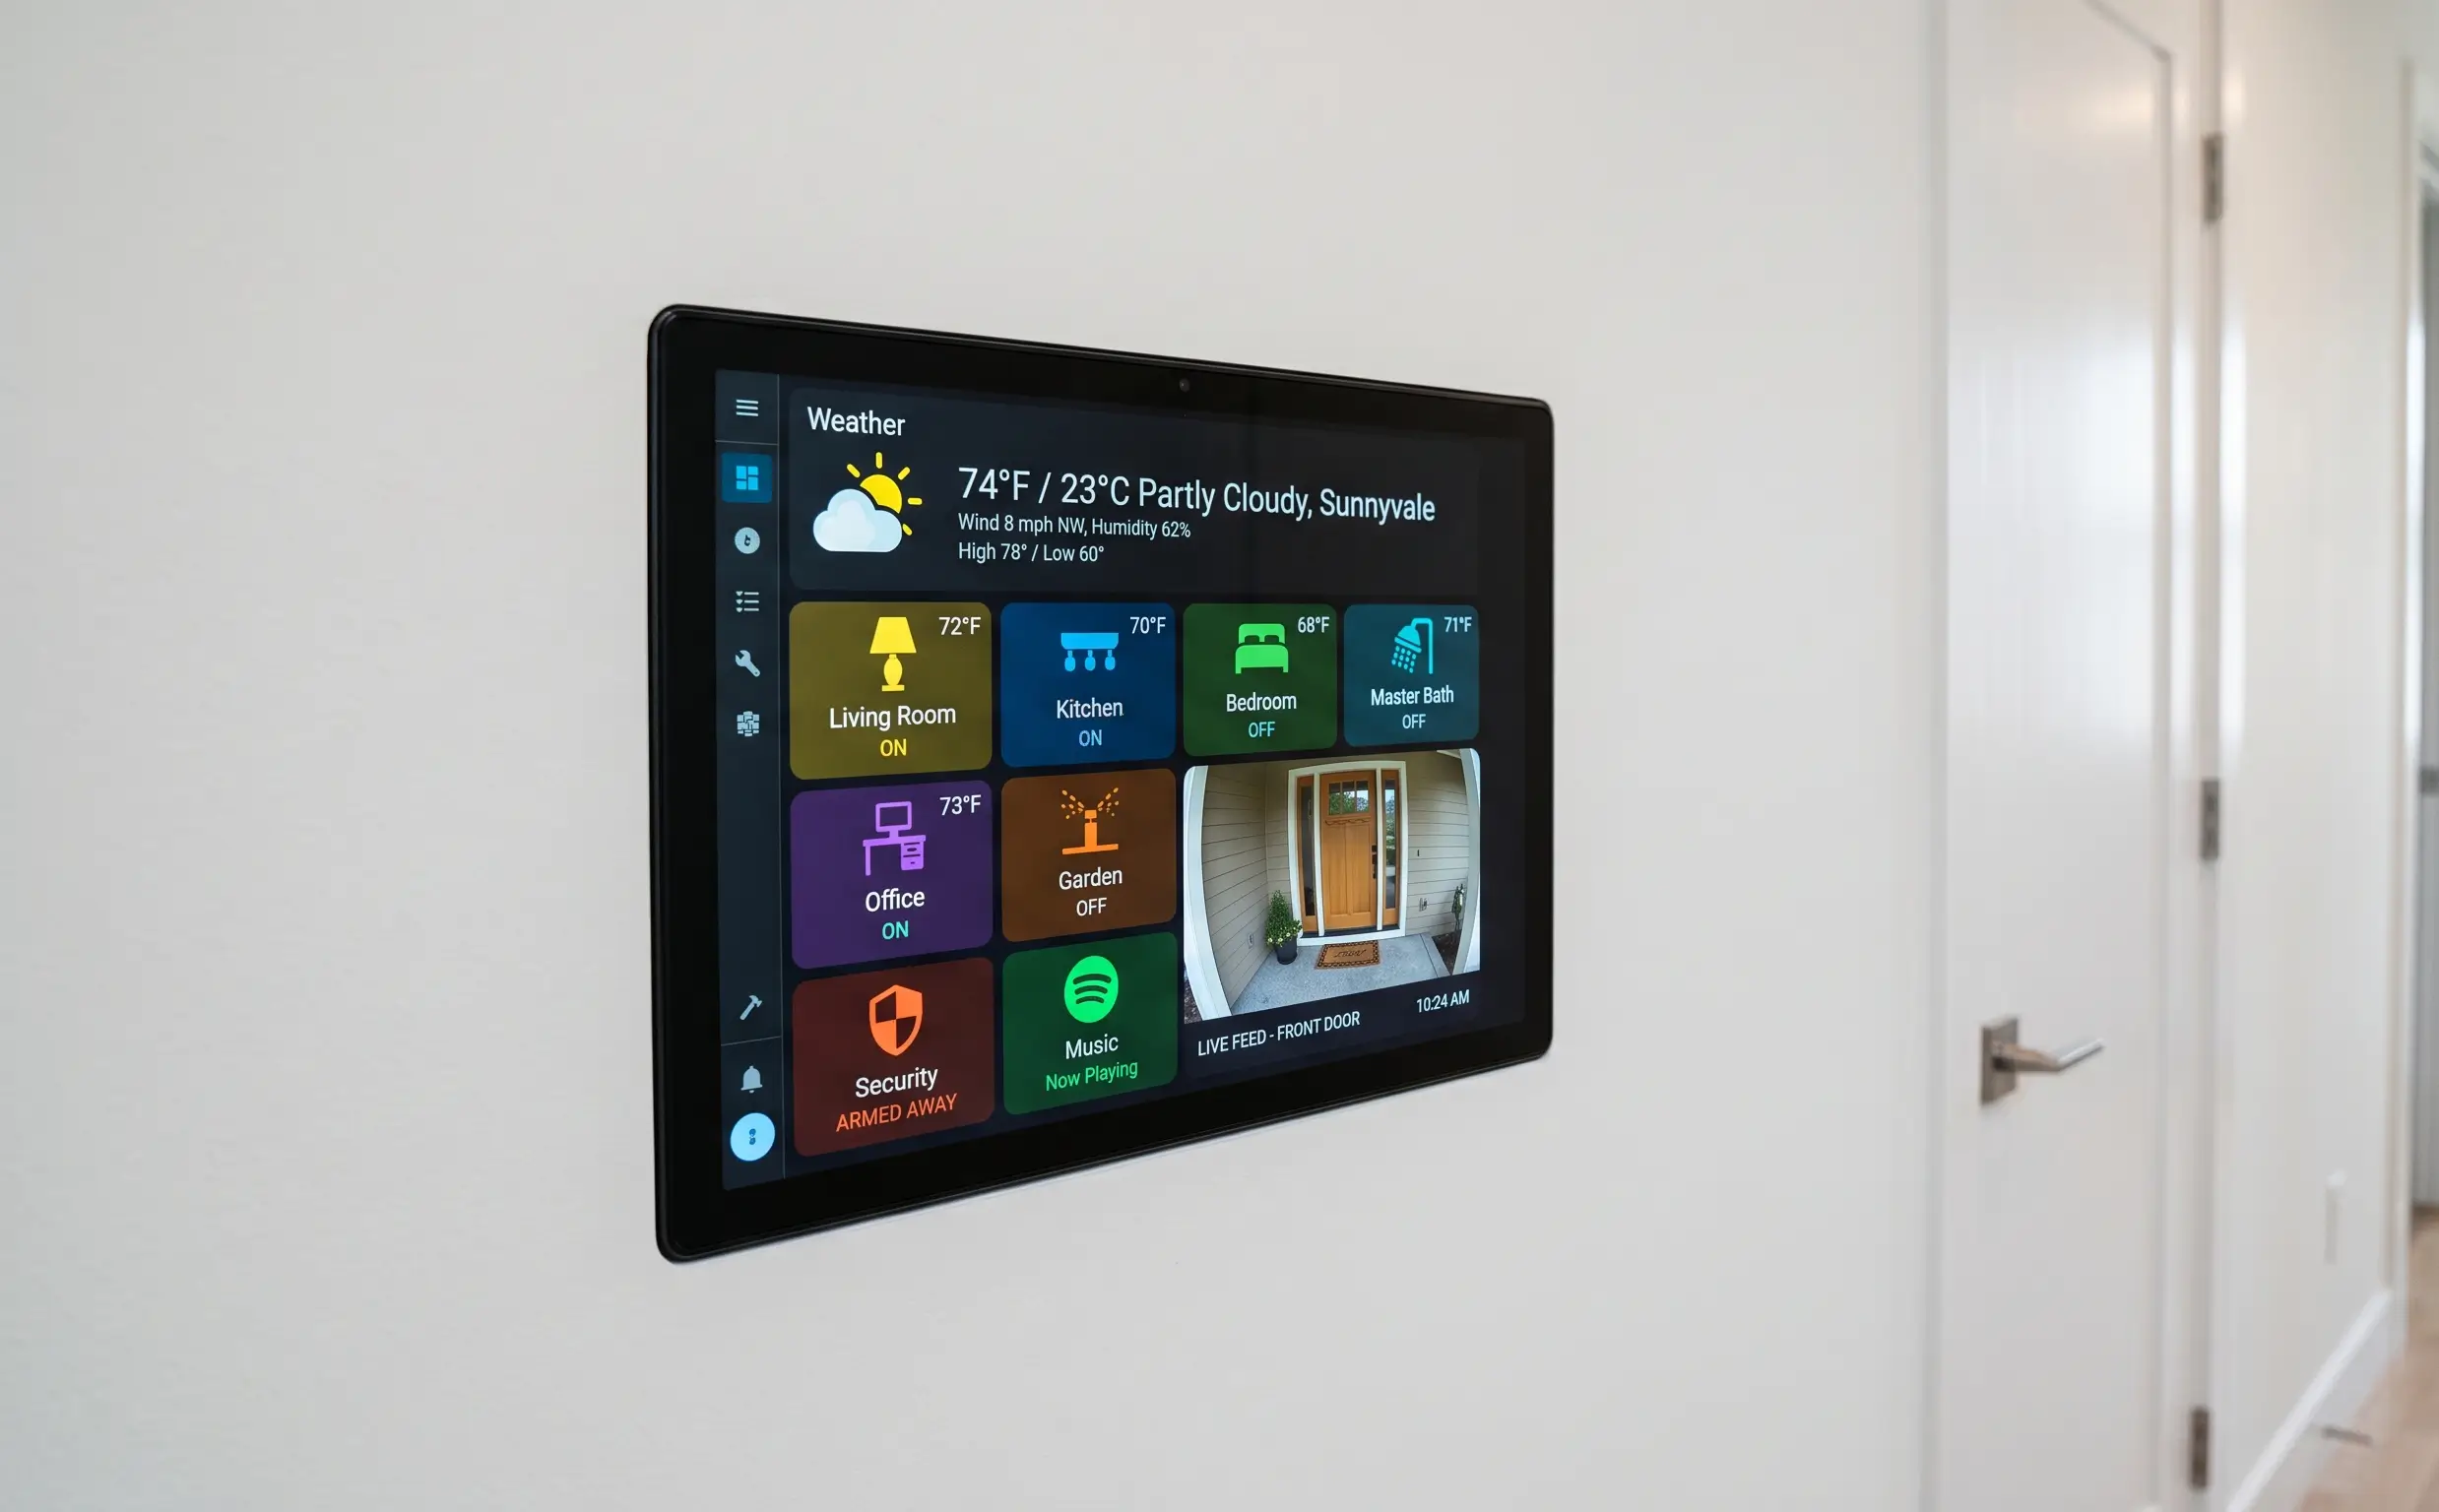
Building a Tablet‑Friendly View
When designing a home assistant dashboard tutorial for a wall tablet, think big touch targets and minimal scrolling. Start with a new view called “Home.” Add a horizontal stack containing a weather‑forecast card and a markdown card that shows the current time via the custom time‑date integration. Below it, use a grid or multiple horizontal stacks to arrange lights by room. For example, a horizontal stack with three entities cards: “Living Room,” “Kitchen,” “Bedroom,” each showing relevant lights and temperature sensors. Add a camera view at the bottom using a picture‑glance card that overlays motion‑triggered camera feeds. This layout makes a home assistant dashboard tutorial result easy to use from across the room.
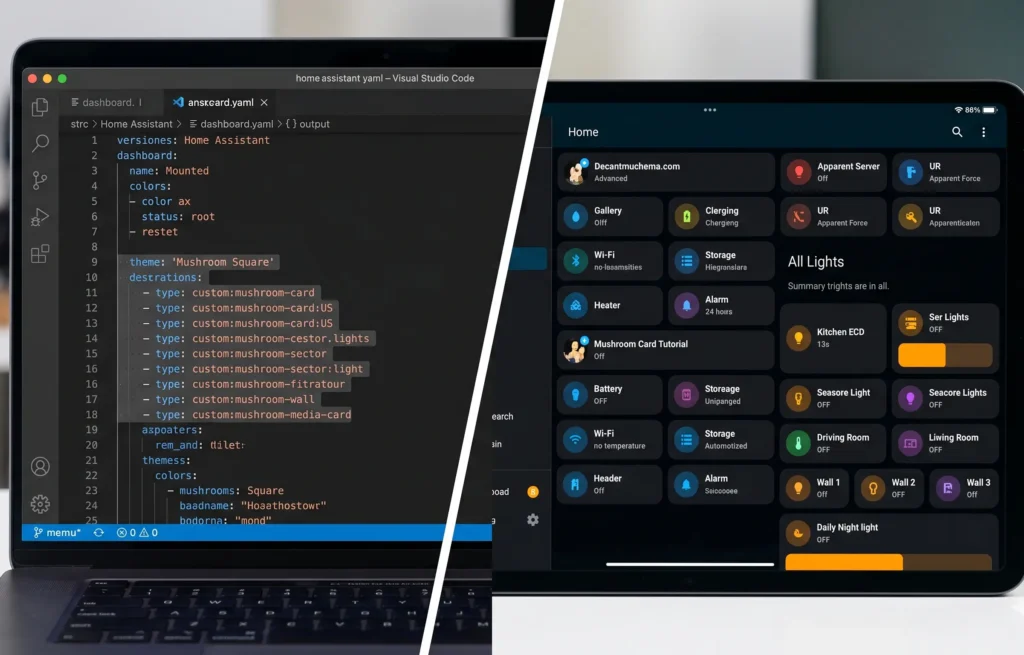
Installing Custom Themes
The default light theme is fine, but custom themes make a home assistant dashboard tutorial feel pro. Install HACS (Home Assistant Community Store), then add themes like “Mushroom” (for the beautiful Mushroom cards) or “iOS Dark Mode.” To switch, edit your configuration.yaml to include frontend: themes: !include_dir_merge_named themes, then create a folder /themes and drop the YAML file. Select the theme in your user profile. The Mushroom cards also replace the standard entities cards with sleek tiles that have animated icons and better colour handling highly recommended for any home assistant dashboard tutorial.
Adding a Floor Plan That Reacts
For the ultimate home assistant dashboard tutorial touch, add an interactive floor plan. Use the picture‑elements card. Upload a clean SVG or PNG floor plan of your home. Then overlay element icons for each room. When a room’s light is on, the icon turns yellow; when a motion sensor triggers, a red pulse appears. This requires some coordinate tuning, but once set, it’s the centrepiece of any smart home control panel. Free tools like draw.io can create your floor plan, and the Home Assistant community forum has copy‑paste templates for the YAML overlays.